Connect the AC adapter and turn on the LiveWedge.
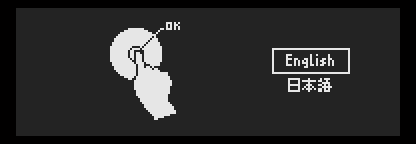
When starting the LiveWedge for the first time it will display the following – Cerevo, LiveWedge, Hello then start up the menu. To choose the display language, use the jog wheel then select “English”.
When [Do you want to use your tablet?] displays, choose “yes” and make sure the cursor is in the correct position.
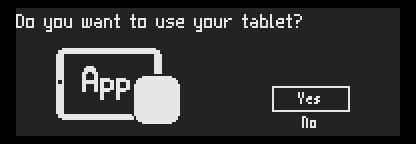
※If you use the unit by itself only the CUT, MIX and WIPE effects are available. Please refer to the ”Unit Operation” section of the online manual for more details.
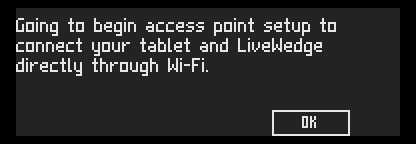
Read the “Going to begin…” message then select “OK”.
The preset SSID and passphrase will be displayed. If the present SSID and passphrase is ok then select “OK” to continue.
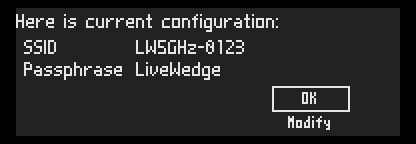
If you wish to change the SSID and passphrase, using the jog wheel select [Modify]. Press transition button 1 to change the character format between capital letters, small letters, symbols and numbers in that order. Press transition button 2 to erase a character. Press transition button 4 to finish editing, then use the same buttons for the passphrase setup menu. When finished, press transition button 4 to return to the Wi-Fi setup menu.
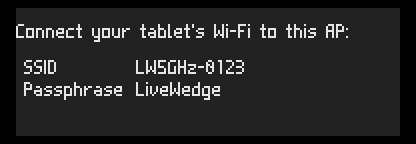
After finishing setup, the SSID and passphrase will be displayed.
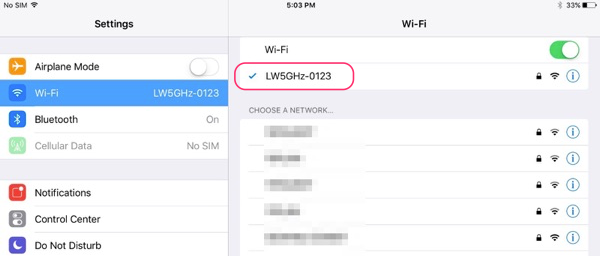
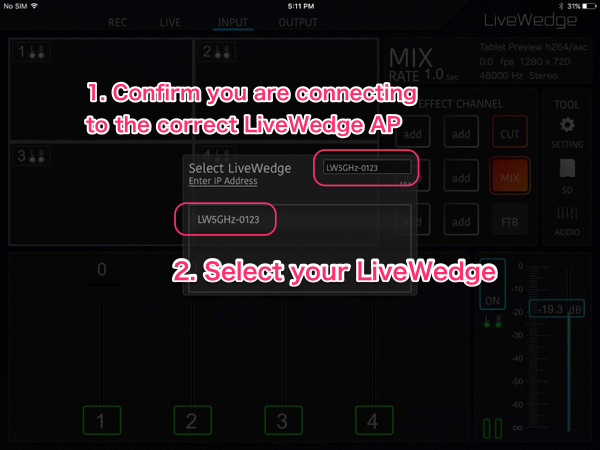
On your iPad or Android tablet, select “Wi-Fi” from the settings application then choose the SSID which is displayed on the LiveWedge unit display. After selecting the correct SSID, input the passphrase.
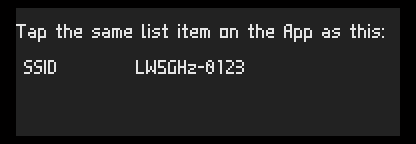
Check the “Tap the same…” message on the LiveWedge display, then run the LiveWedge application on your iPad or Android tablet and select the corresponding SSID.
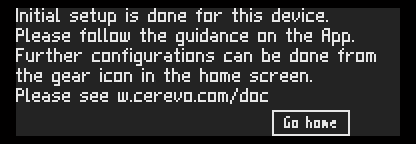
If the LiveWedge is connected correctly, “Connected!” will be displayed. Check the message and choose “OK” to finish initial setup.